Showing posts with label Wall Hanging. Show all posts

Saturday, May 2, 2015

Mini Finishes

A couple more small finishes today.  Two wall hangings that were pretty quick to put together.
 
The first one was a free pattern from Aurifil.  It's the Auriful Mini Quilt and there are a few in this series of free designer patterns.  I had some fabric from my stash that worked well for this.... "Cachet" by Marie Osmond for Quilting Treasures, given to me years ago by a sweet friend.  (Thanks, Kathy!)   Measures 15" x 17 ".


This one is from a pattern called Dwell Mini from Thimble Blossoms.  The fabric came from Connecting Threads..."Oh Clementine" from Windham Fabrics is the fabric line.  It was fun to decide what fabric to use on what house in what way....roof...walls...pinwheels.  Measures 13" x 16". 
 
 
And lastly, my gratuitous photo of Kirby.  Today is his 5 month hatchaversary.  His dried-on baby formula is finally coming off of his face and he is slowly learning to talk.  His repertoire so far is "Hi Kirby", so we have a lot more training to do.  Cockatiels don't always talk so I won't be disappointed if this is all that he says.  ;)
 
 
Have a great weekend!  I've been working in the yard the past couple of weeks on those nice, cool days, trying to make it more presentable.  Mow...mow... mow.... wears me out but it sure is nice to have the warmer weather back.

Monday, April 20, 2015

A 20 year old finish!

 
I finished this little wall hanging last week.  It's just 24" x 24".  It's been in my UFO's for years.  In fact, this pattern and partial kit was dated 1995.  Yeah.... it's been in my pile-o-stuff to finish for 20 years!  I don't know why I get distracted and don't finish projects.  This only took a few days.  One to cut the pieces....one to piece it.....one to quilt it.....and one to bind it.  Of course, this was only working on it a couple of hours at a time.  I suppose it could have been completed in one day if you stuck with it.
 
The pattern and kit came with about 2/3's of the fabrics needed to make the hanging.  I'm not sure why it didn't contain all of the fabric.  The fabric was nicely folded and looked undisturbed so I don't think I ever removed any of it for another project.  Oh well.  So if you recognize a few pieces of newer fabrics....not 20 years old.... that's why. 
 

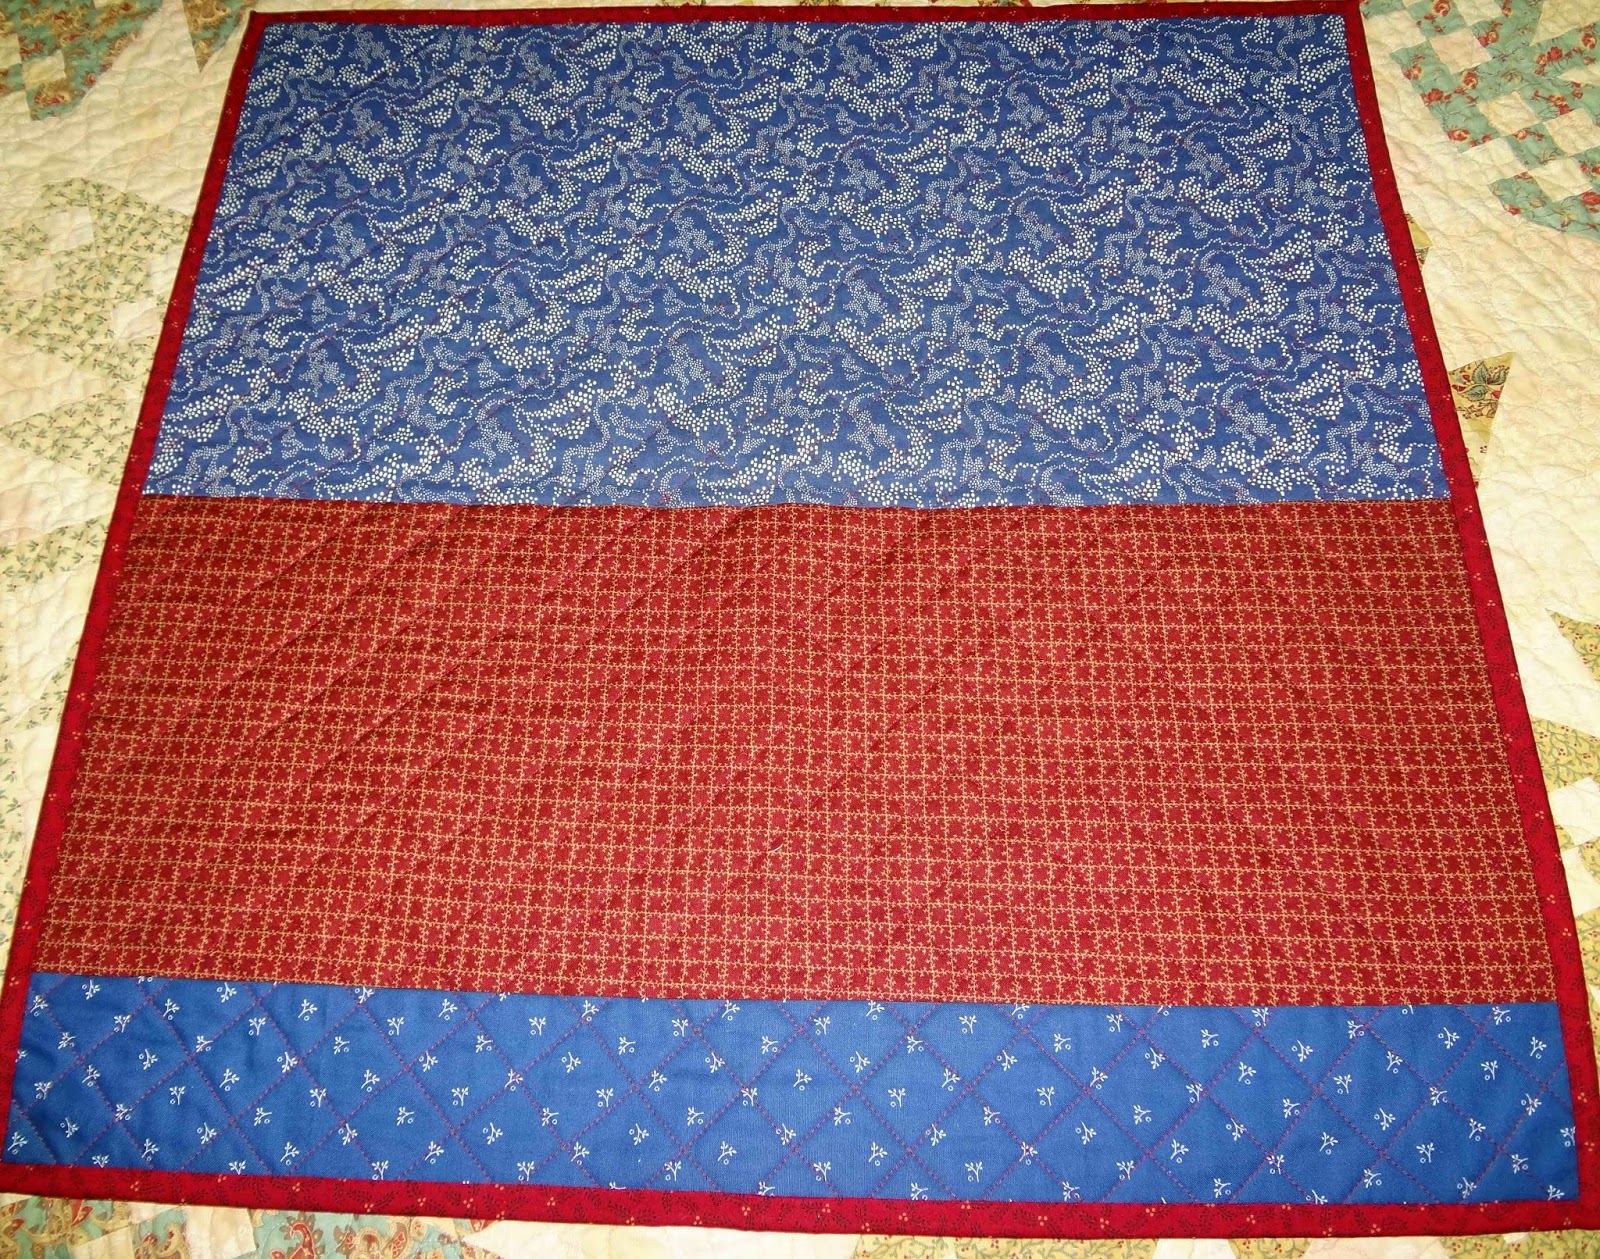
The backside.  I used some of the included fabric as well as some added from my stash.


This is a little goodie that I picked up at the Hallmark store in the drastically reduced bin.  It's a Boyd's Bear little hinged box and they were almost giving it away.  I love little sewing items for my sewing area.


This inside held this cute little sewing mouse.


Here's the sweet quote that was under the lid.


And lastly, Hank Sarducci holding his new friend.


Happy Sewing.  Hope you find a UFO that calls your name this week too.  It felt really good to actually finish this cute little hanging!

Tuesday, March 17, 2015

Tree Bird Hop

 Apologies...this was scheduled to post and didn't....anyone having troubles with Blogger?


Just in time for spring comes this great blog hop..... Tree Bird Hop!  I can tell you that the birds are actually returning to Indiana in full swing with temps in the 40's and 50's.  The snow is melting and will be soon be gone ... my shovel will be retired to the garage and the mower will come out to take its place.

This is another hop from dear Madame Samm.  She continues to keep us "hoppin!"  And I also have Lana to thank for being our hostess.  There are lots of participants in this hop and it has to take a lot of checking and rechecking to keep us all under control.  A HUGE thanks to Madame Samm and Lana!!

This hop was all about the birds.  We were asked to make something bird related.  It was suggested.. only suggested.... that we might want to use some fabric from Elizabeth's Studio called Beautiful Birds.  It was designed by Tracy Lizotte.  Well, I loved the fabric so much that I really wanted to use it in my wall hanging.  I started with this panel of several birds nested in their colorful houses. If you are interested in this fabric line, there are many different bird fabrics, all colorful and delightful. 


And then, Pat, my sweet blogging friend, sent me this panel.... an empty tree, just waiting for some colorful birds.  Thank you so much Pat for sending this to me and making the vision that I had in my mind come true.


And lastly, a picture of Oliver that was printed on fabric.  I had intended to thread paint this, but it just didn't work out.  I'll have to give it a try on a future project.


Here's the finished hanging.  Although Oliver is no longer with me, I have tons of memories of him sitting by the window and "chatting/cackling" at the birds in the backyard.  I took a few of the birds from the bird panel and combined them with some "blank" tree sections from the tree panel.  I had intended the tree to kind of extend as one into the window sections.  Somehow, when I added the borders and the seam allowances, they were far from lining up.  Oh well... the eye really doesn't pay much attention to the fact that the tree doesn't exactly flow from pane to pane.


A closer look at Oliver.  I added a layer of fusible fleece under him to make him look like he was in the room and give him a bit of a 3D dimension.


These shots are trying to show that I actually did quilt this wall hanging.  Even in person, the quilting lines kind of disappear.  I didn't do heavy quilting, but quilted all of the trees and the window sections.  I think it would have turned out better if I had used a thicker batting.


This is a little template that I made to do the window sections.  It was the first time that I had done a version of Attic Windows and was concerned about messing up the Y seams.  With this little template, I just marked the intersections and stopped sewing at the marks.  I machine stitched the whole thing and they went together perfectly, without a glitch.  I was a happy camper!


Thanks for stopping by today and checking out my Tree Bird project.  There are other talented bloggers joining me today and here are the links to visit their blogs.  Please fly over to each one and let them know how much you enjoyed your visit!

Tuesday, March 17
Gracie Oliver Arts-You are here!


Thursday, September 4, 2014

See You In September Blog Hop

Wow...... summer has just flown by and we are now entering my favorite time of the year.... fall.  I love the cooler weather and crisp leaves..... We aren't quite experiencing this yet but will be very soon.  And with fall on the horizon comes a new batch of inspiring blog hops starting with:
 
 "See You In September."
 
 
As with so many of our wonderful hops, Madame Samm from Sew We Quilt, has put this one together for us.  Our cheerleader and blog organizer for this hop is Shari from Living With Purpose.  I have to thank both of these great ladies for all of the behind the scenes work, organization, and communication that must take place for these hops to hit the ground running.
 
"See You In September" was announced a few months ago, giving us time to make three projects to show on our designated day.  One of those projects was to include some fabulous Riley Blake gingham.
 
I have to admit that my summer sewing plans were put on hold until the middle of August and then it was time to get busy.  Phew.... I hustled and got them done!
 
Here's the first project..... I guess I could claim this as my three projects but I don't think this would be quite fair.  ;-) I made 
three fabric bins, each one using Riley Blake gingham as either the lining or the outside of the bin.


Three nested together....

 
And next to each other, large, medium, and small. 

 
Large.... this one would be a great napping spot for a cat to curl up in. 

 
Medium....hmmm..... maybe a kitten would like to nap in this size.

 
And small.... maybe for cat toys? (I always seem to be thinking about cats!)
 
Of course there are multiple uses for these bins.  Everything from cats to fabrics and sewing supplies.  You can find the free pattern for these bins at  Matryoshka Bins.
 
Next up is a little wall hanging that I made for a swap this summer.  It has been mailed and received so I can now show pictures of it.  And I must, again, apologize for these photos.  The project is now gone and I never had a nice day to photograph this wall hanging outside. 


The free sewing machine applique pattern  that I used can be found at Sew Can She.

And last up is a large tote bag that I made for the same swap as the hanging above.  I wanted to use some more of that great Riley Blake gingham for this bag.


 Here's a close up of the flower/button embellishment.


And the inside...  I don't have anything to show you the scale, but it could hold a pillow form or two....or lots of groceries, whatever.
 
 
This easy, free tote bag pattern can be found at
 
I should have had many more projects ready to show you but at least I managed to get my three projects finished.  I've done some more sewing since making these projects and will post soon.
 
Thank you so much for visiting today.  Now I hope you will continue your blog hopping and visit the other bloggers that are joining me today.  I'm loving that we get to see three projects on each blog so we will be overflowing with inspiration!
 
Thursday, September 4


Thanks for visiting today..... Happy Hopping!

Saturday, August 23, 2014

It's A Sister Thing Swap

A person could get old while waiting for the sun to shine for outdoor picture shots.... so I've decided to go ahead and post these pictures so everyone can see the great goodies I received this week.
 
My goodie package arrived from my "It's a Sister Thing" secret swap sister, Vicki, from A Quilters Mission!  We were given our partner assignments a few months ago and were to "stalk" our partner's blog to find out about their likes and dislikes so we would have an idea of what to make for them.  Vicki hit the nail on the head for getting to know me and I was thrilled with her gifts.
 
First off is this sweet little zipper pouch that she made in Oliver's honor.  I was really touched by her sweet thoughtfulness.


Here's the inside of the pouch using the opposite fabric colors.


This shows some additional goodies that Vicki sent...... a sweet hand made strawberry pin cushion, a tiny cross stitch kit, and some spools of thread.  All very much appreciated.


And here's the grand finale!  My picture taking does not do this justice but here's the wall hanging that Vicki made!  Isn't it darling?  You can't appreciate the hanging from this shot, but it's fairly large....21" x 21".  She did some great stipple quilting in the ladies' squares and straight line quilting in the border.  And don't you love that tape measure binding!?  It's hanging in my sewing room where it brings a smile to my face everyday!

 
Thank you so much, Vicki, for being a wonderful Swap Sister!   I feel so lucky that you were chosen to be my partner.  And I must also thank Michele from Quilts From My Crayon Box for hosting this swap.  I've mailed the gifts that I made for my swap sister but cannot post about them yet because..... shhhhhhhhh..... it's a secret!

Saturday, October 13, 2012

I finished a little wall hanging today.  My friend, Sandy, had given me a cute linen tea towel this summer and I just didn't want to use it in the kitchen and glop it up with stains.  Instead, I cut it up and made a little wall hanging, 17" x 18".  The center, the white blocks in the corners, and the binding came from the tea towel.  I used most of the towel, with only a few strips of left over fabric.  I hope Sandy will like my use of her gift.  (You will be seeing more of the coffee print border in a November project.)


I wanted to give you a little tool recommendation too.  Have you used the Clover Wonder Clips yet?  At first, I thought they were just another gadget (I'm a gadget junkie) that would really not serve much of a purpose.  Instead, I've found several uses for them.  They are somewhat expensive (over $30 for 50 clips), but I bought them at JoAnn's with a 50% off coupon.  This made them worth trying without a huge expense.


Their main use is probably for attaching your binding (after machine sewing the front side) for hand sewing the backside.  I like them much better than the long, silver hair clips that many people use and they don't bend like regular pins.  These are short enough that they do not get in the way of sewing.  This picture shows the front side of my little hanging, all clipped and ready to sew.


Here's the backside of the hanging, folded over.  You can use these clips as a measuring tool too, making sure that your binding is folded over evenly, using the clips as your gauge.  The clear side of the clip actually has some manufacturing marks that can be used as a measuring gauge too, if you don't want to use the full clip length.  I love using them at the mitered corners.  When I reach the corner, I make sure my mitre is the way that I want it,  I clip it, and sew it down.  I can leave my clip in place as I sew, which means that my mitre doesn't slip and need re-adjusting.


I have also used these clips for sewing hems in jeans.  When you fold over that thick material, these clips hold the folded material very easily for sewing your hem.  Again, they don't bend like a pin does in heavy fabrics.  They stay put, although I still remove them as I sew.  One side is flat and is made to stay in place while sewing, but I still found it awkward to feed them though my machine.
 
They are great for holding paper pieced sections together for sewing.  Again.... I always bend my pins while trying to keep my paper pieced sections in the right position.  These clips hold tight while I sew the sections.  I thought they would slip since I was sandwiching paper to paper, but everything stayed in place quite well.
 
Lastly, I have used them when sewing clear vinyl.  In this case, you never want to use a pin because it leaves a permanent hole in the vinyl.  The clips are strong and sturdy and keep things together well. 
 
Bottom line is that they are a multi-use tool and I'm sure I'll find even more uses for them.
 
Have a great weekend!